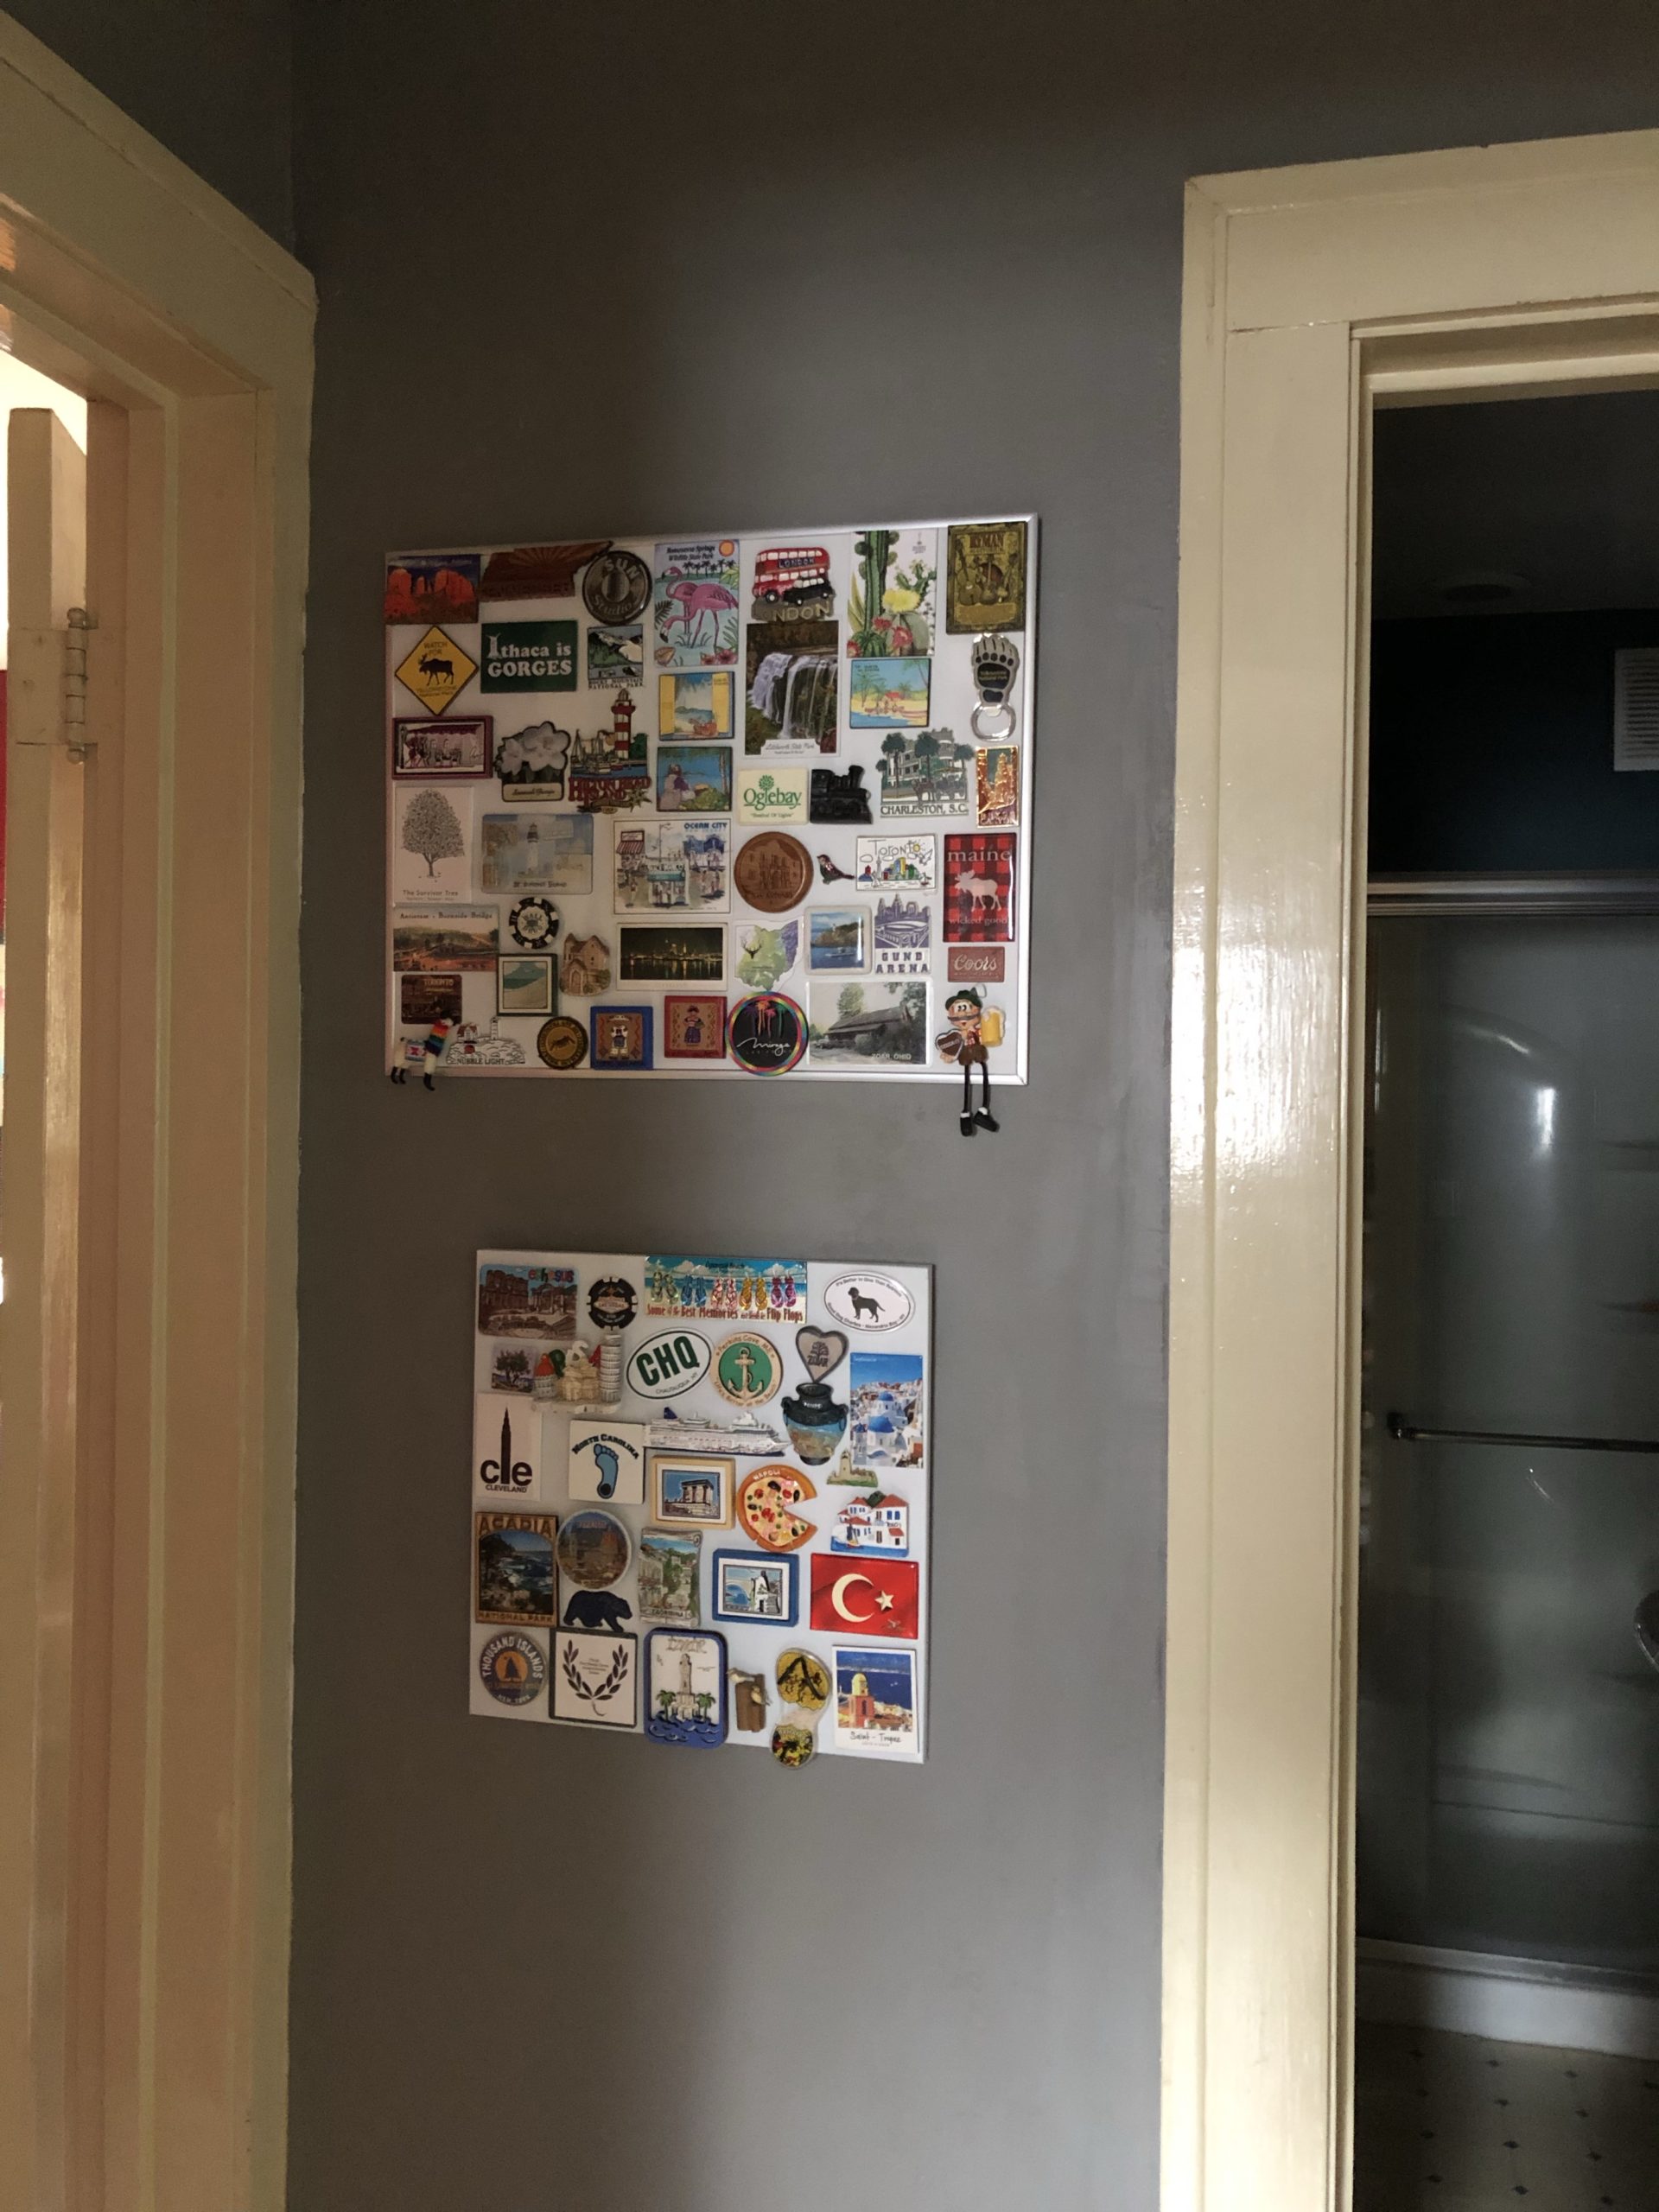
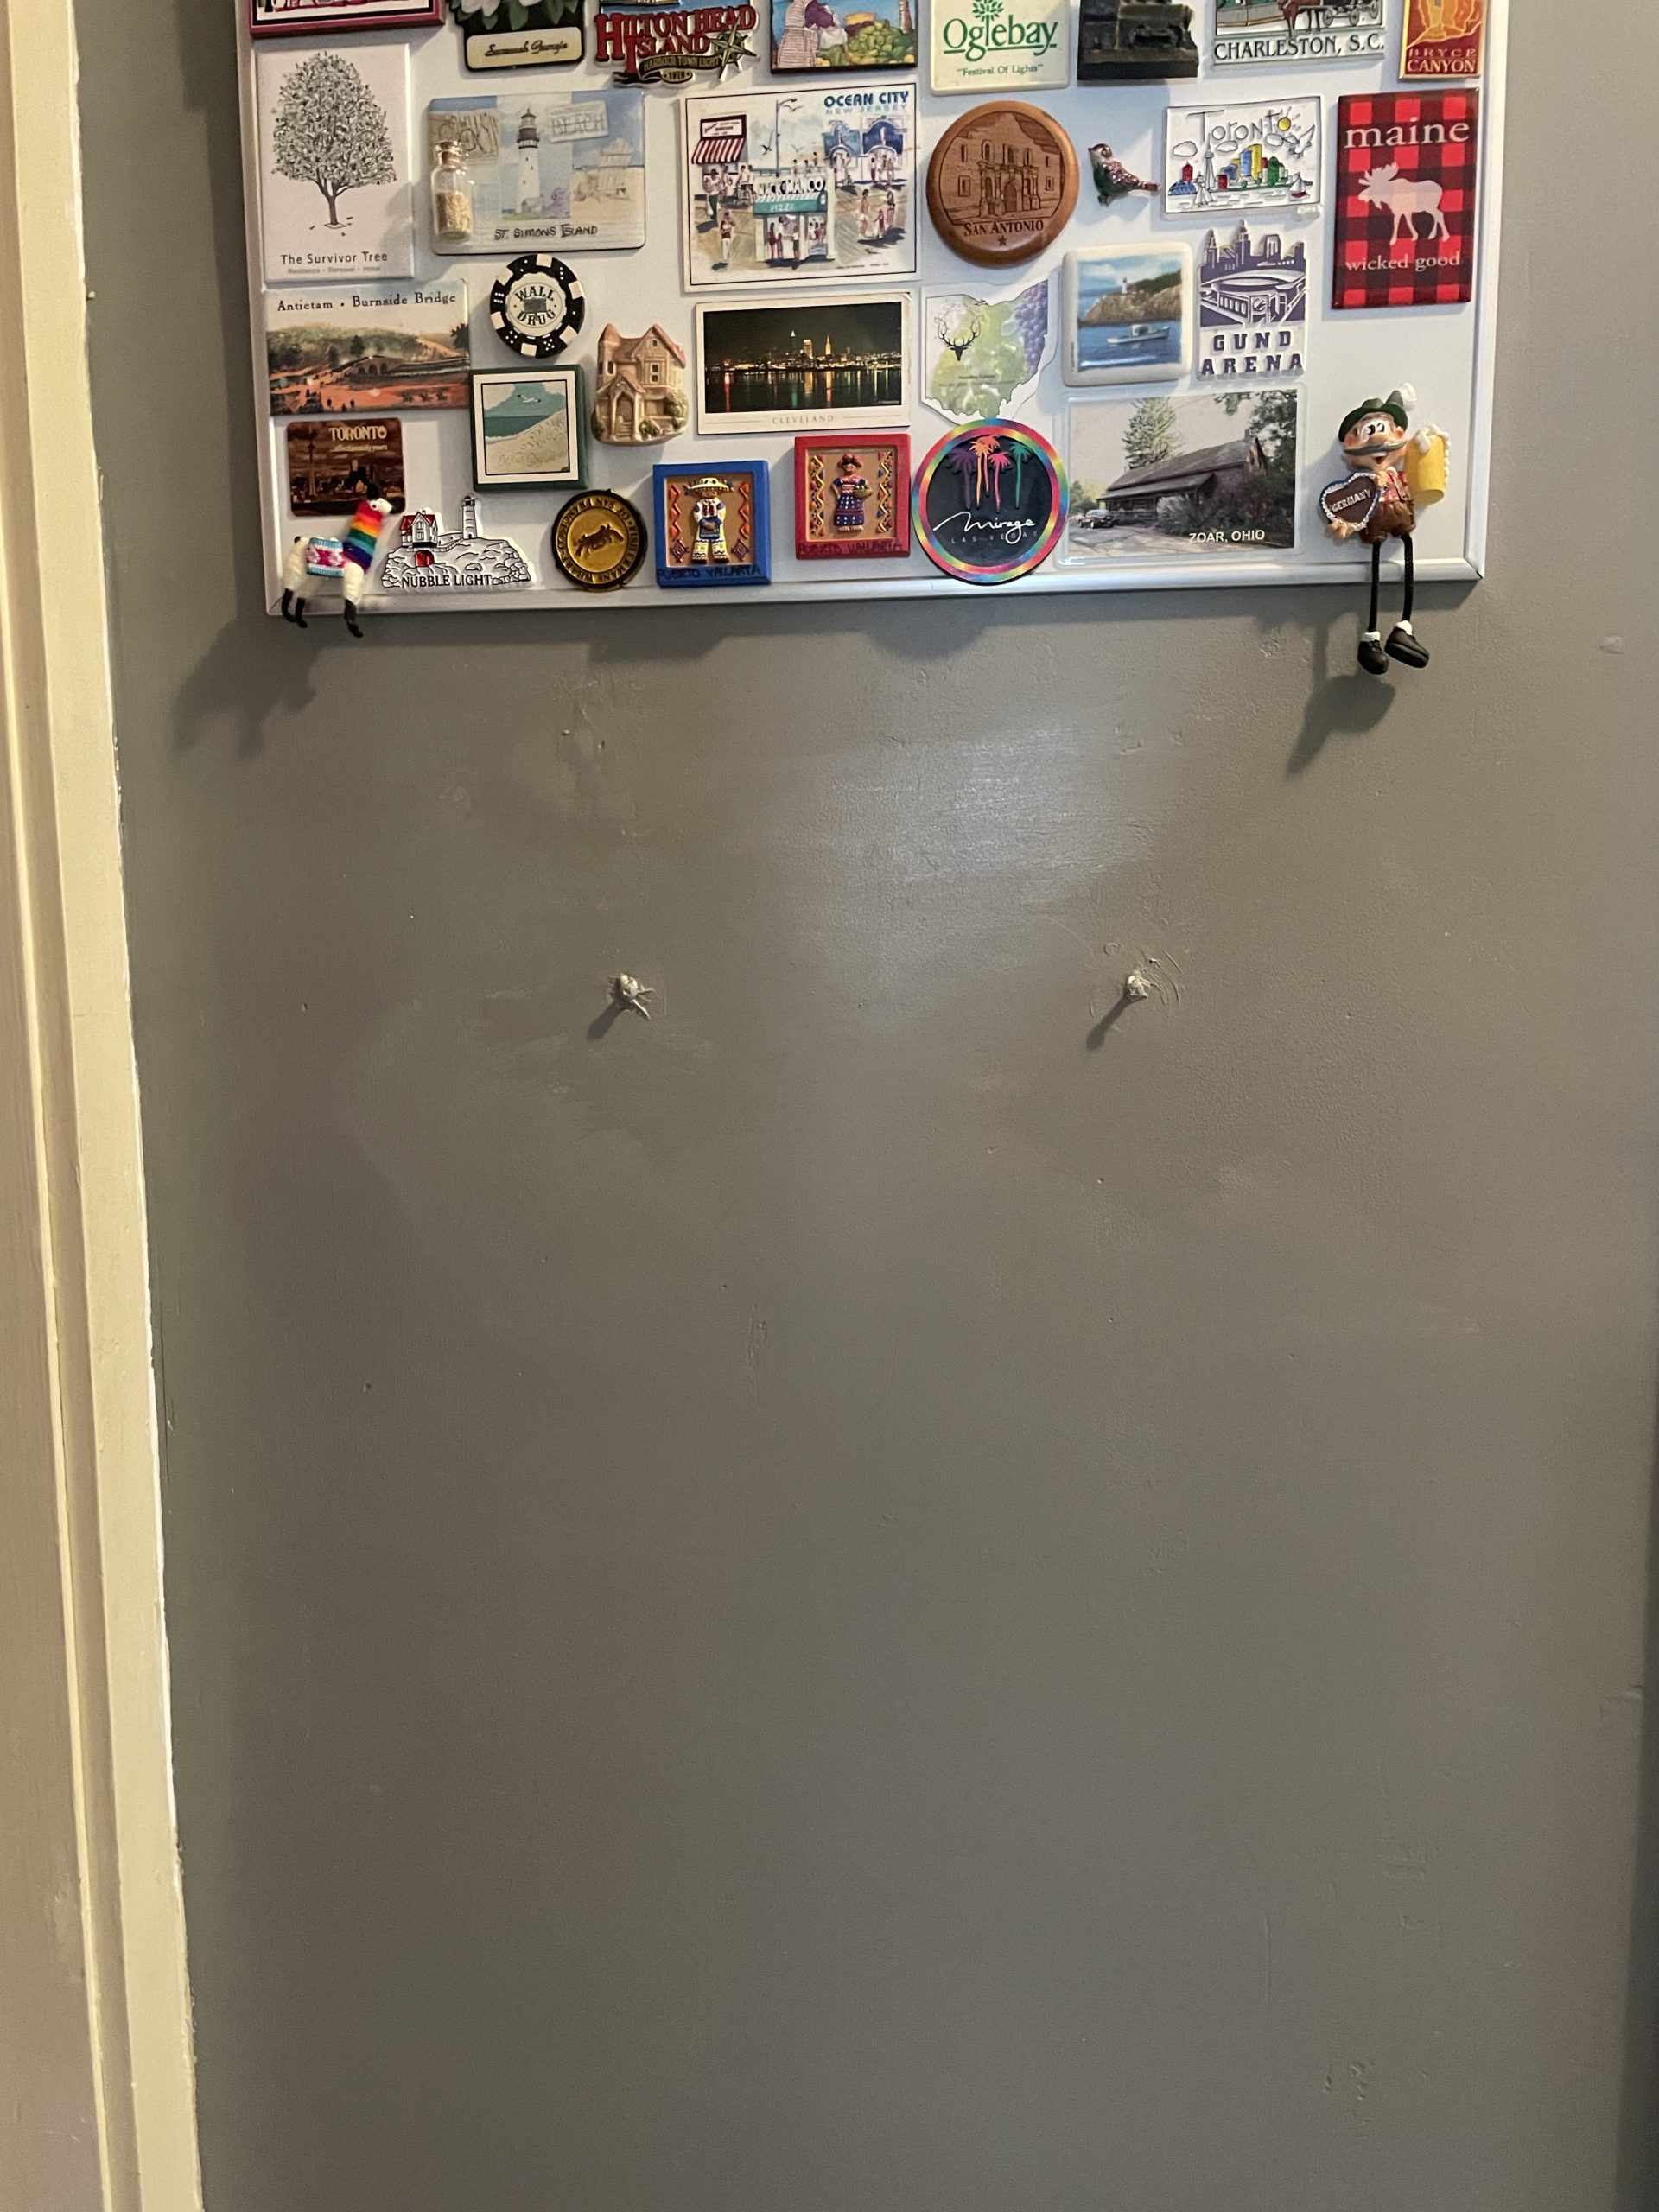
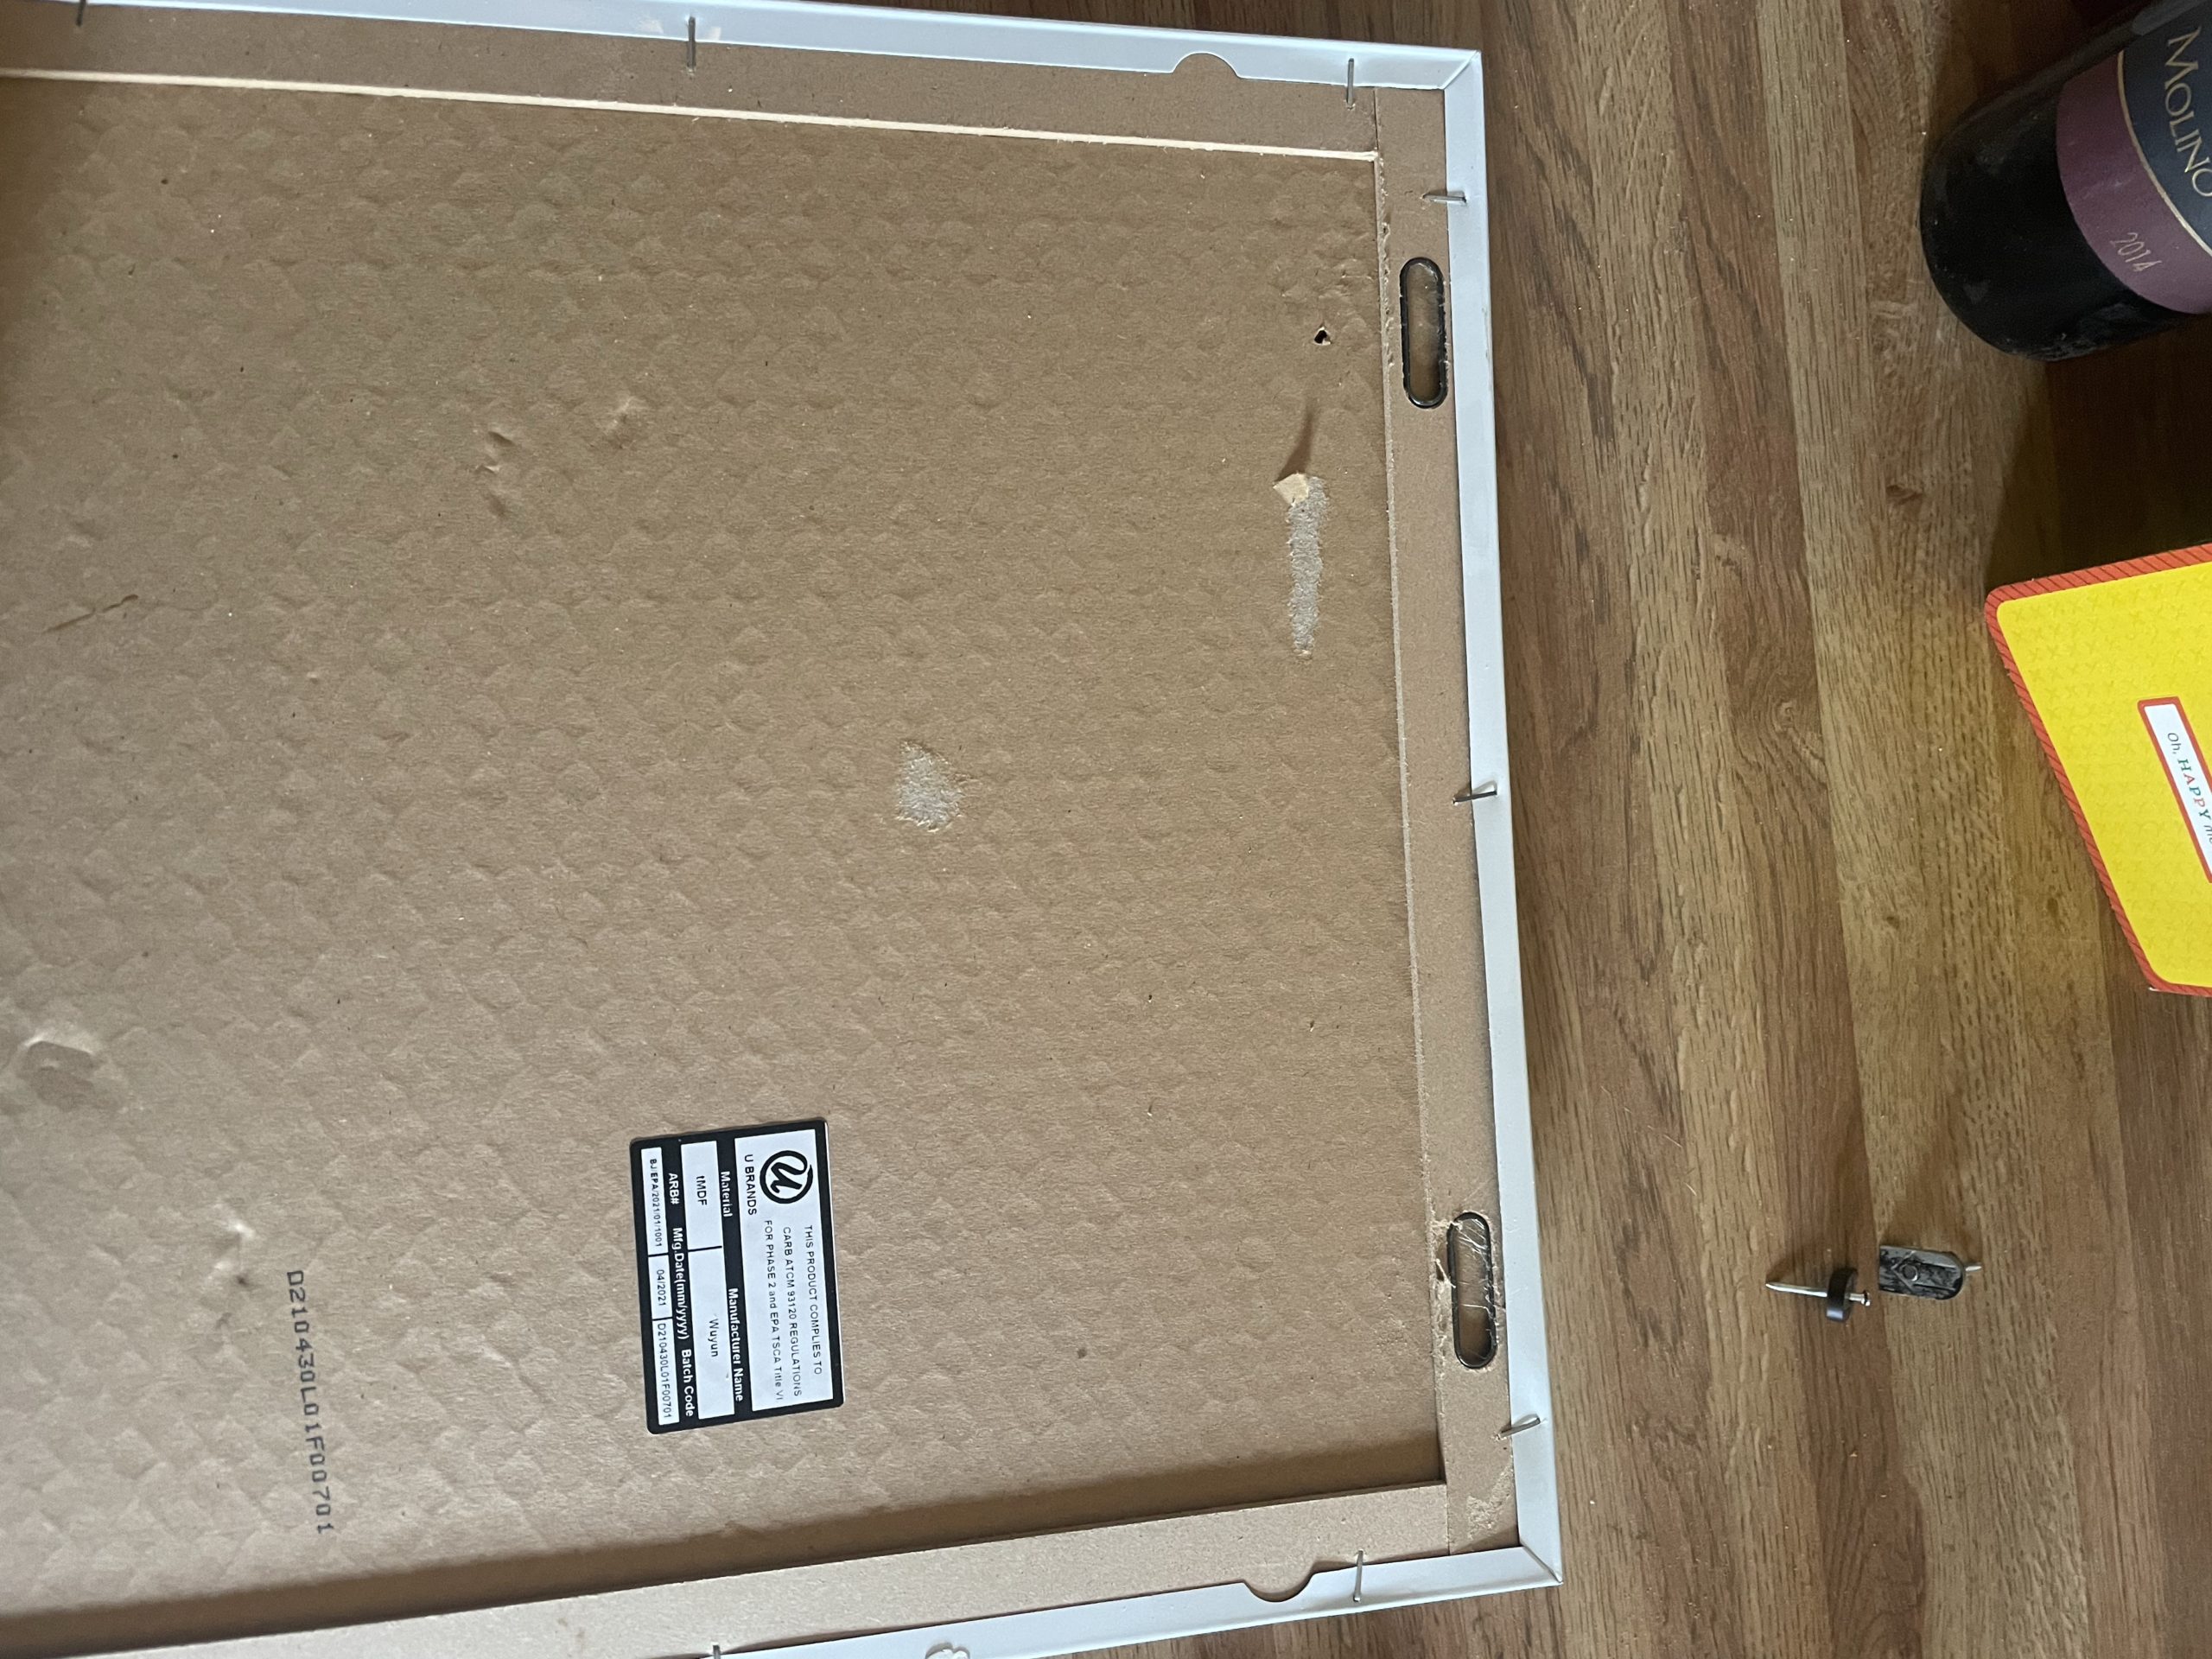
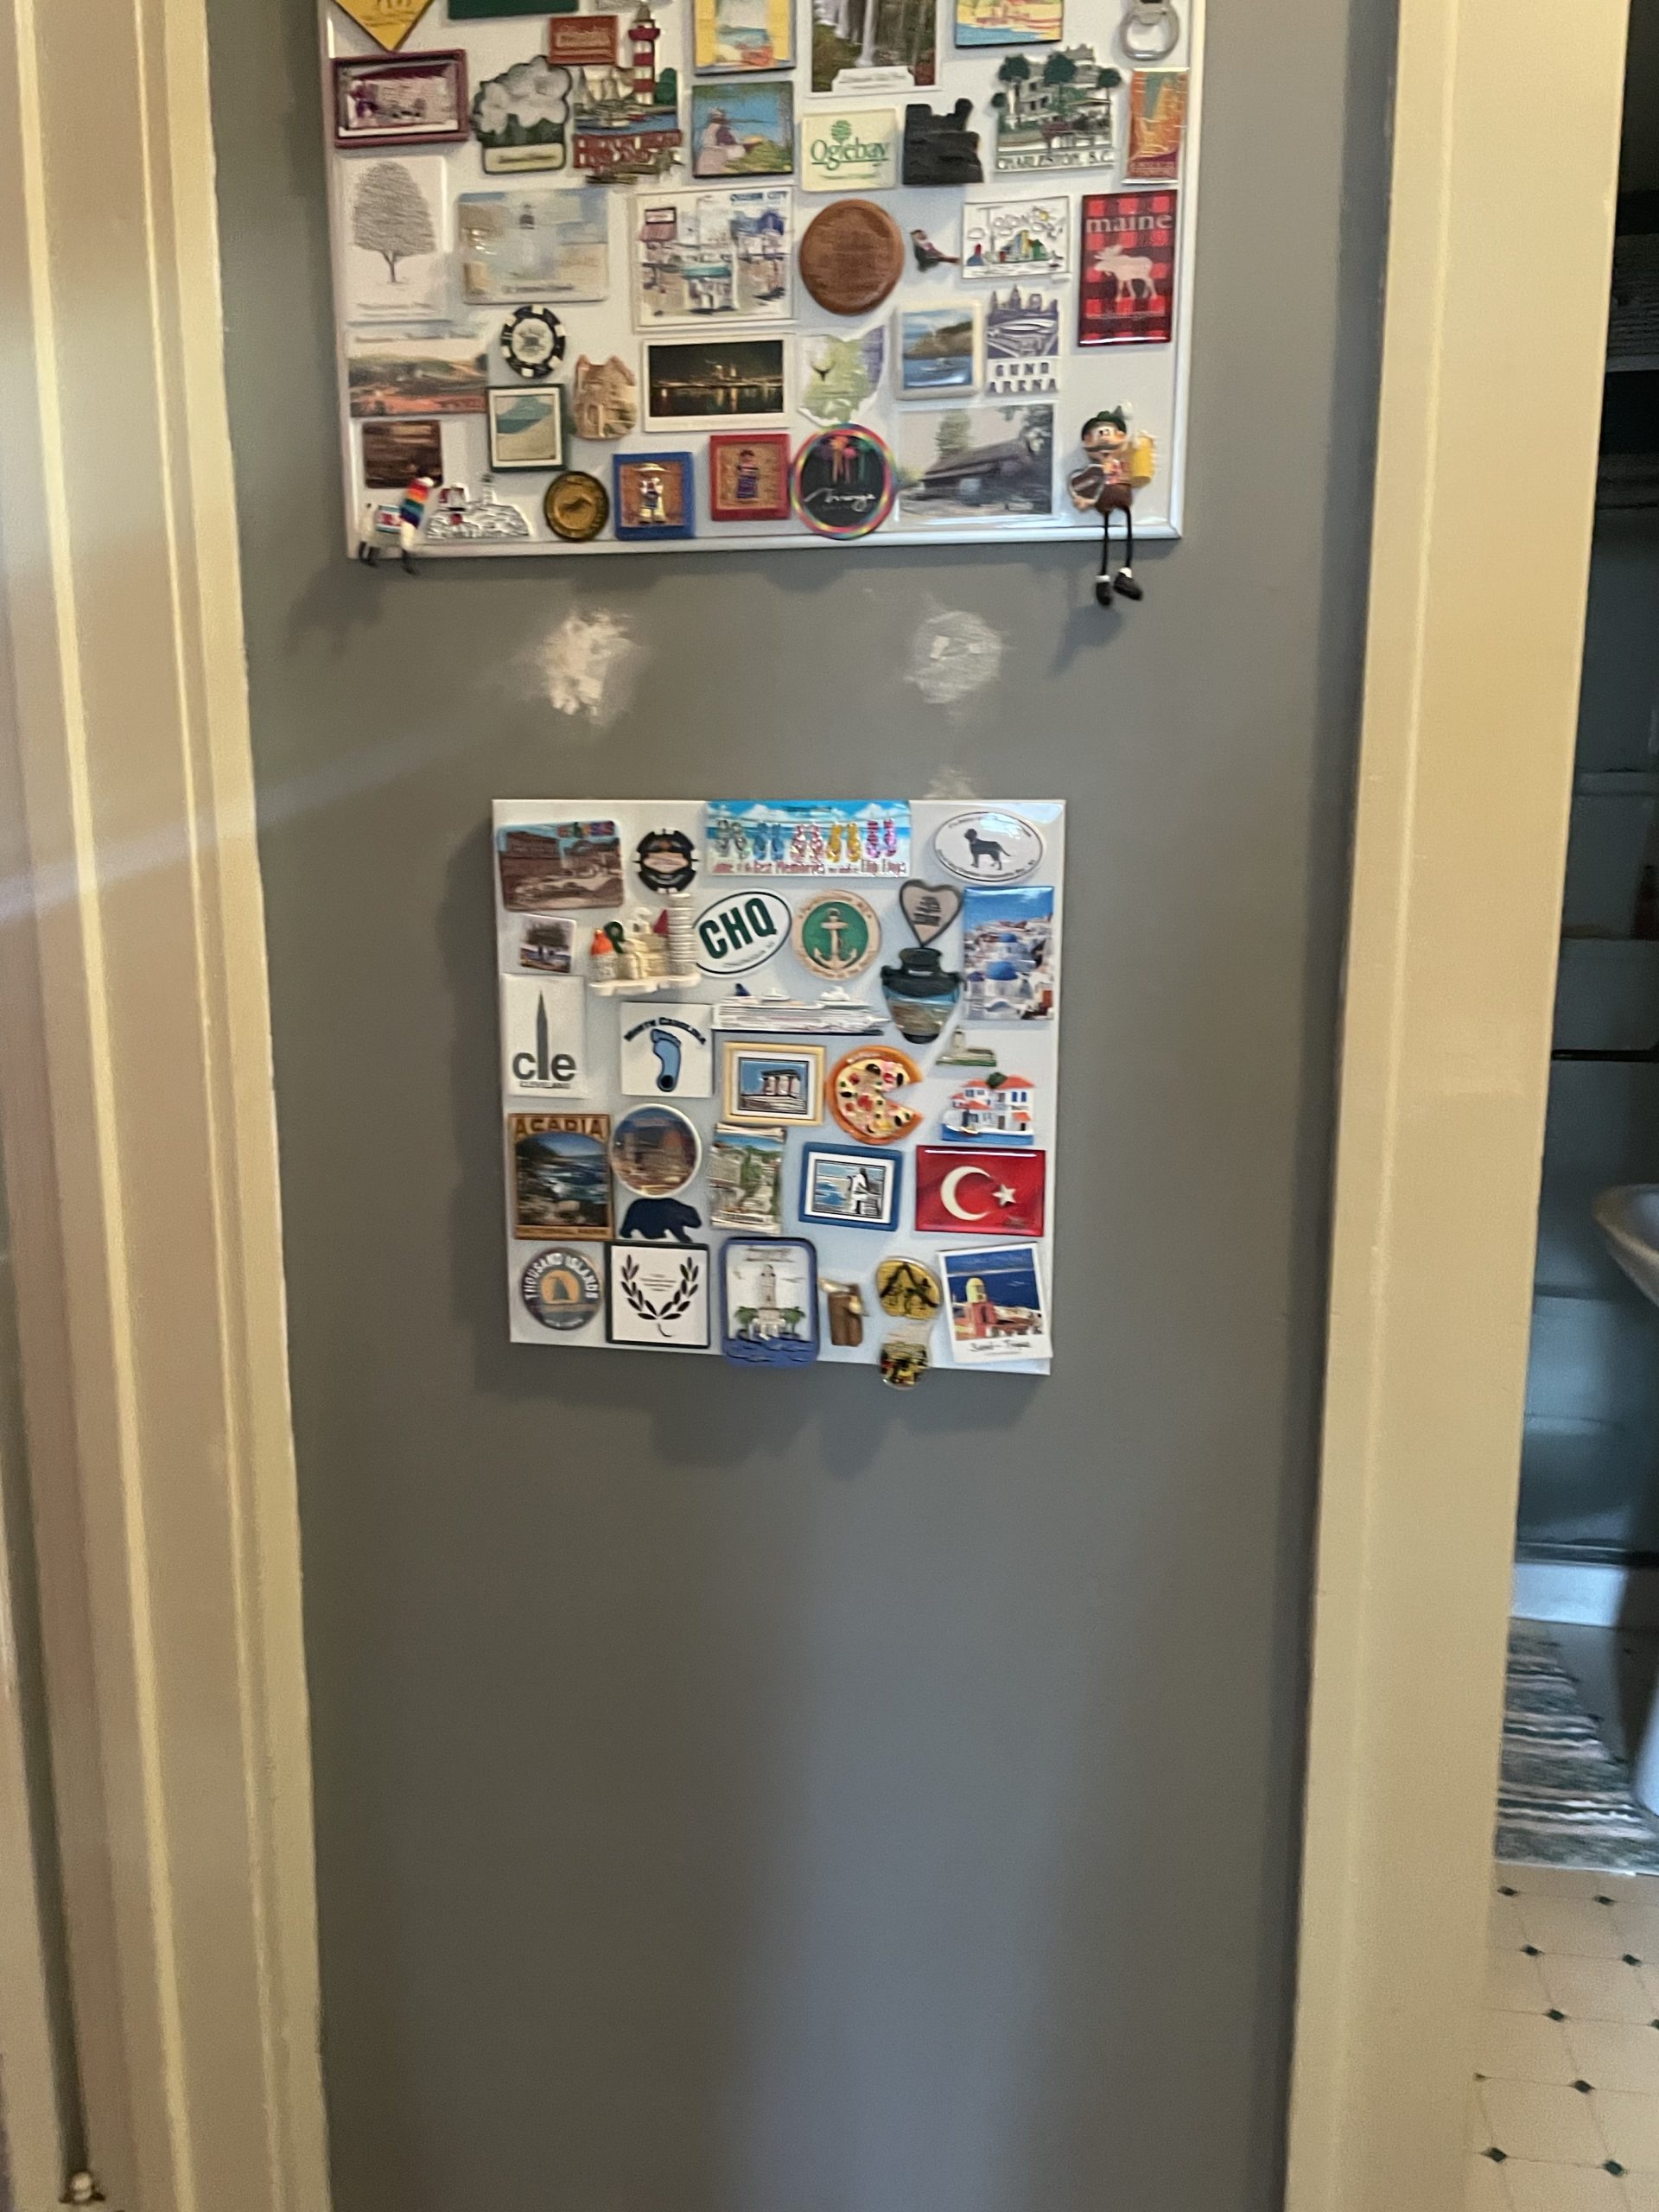
The bracket holding this board up was a little weak and they wanted it lowered a bit. I was able to get it lowered, secured, and repainted, and no sign of the old holes.
Tools Used:
- Drill
- Drill Bit
- Drywall Knife
- Marker
- Level
Materials Used:
- Paint
- Joint Compound
- Painters Tape
- Screw with Molly Anchor
Procedure:
- Take down the existing board and remove the screws.
- Sand down the area so that it is flat and fill holes with joint compound and allow the compound to dry.
- I used a piece of painter’s tape to trace where the mounting holes on the board were and applied it to the wall.
- Once I made sure it was level and centered, I drilled where I marked the holes on the tape.
- I then installed the anchors and screws leaving them sticking just out of the wall so they could hook into the board.
- I painted over the new patch work and hung the photo board back up in its new place.


