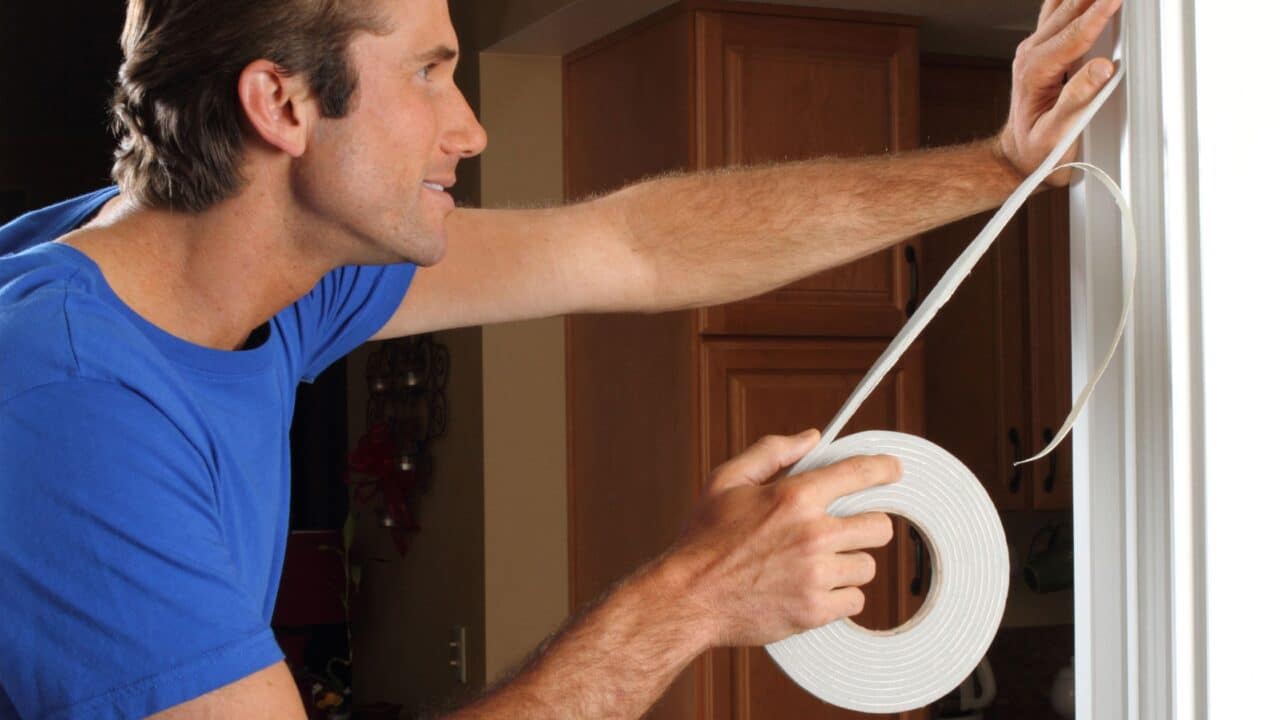
Weatherstripping is a critical component of home maintenance and energy efficiency, especially in areas prone to cold weather like Highland Heights. It refers to the process of sealing gaps around doors, windows, and other openings to prevent air leaks. By creating a tight seal, it helps keep warm air inside during winter and cool air inside during summer, reducing energy waste and lowering utility bills.
Why is Weatherstripping Important?
- Energy Efficiency: Air leaks around doors and windows can significantly increase heating and cooling costs. Weatherstripping blocks these leaks, making your home more energy-efficient.
- Improved Comfort: Eliminating drafts helps maintain a consistent indoor temperature, enhancing overall comfort.
- Reduced Wear on HVAC Systems: By keeping conditioned air inside, weatherstripping reduces the strain on your heating and cooling systems.
- Pest Prevention: Sealing gaps also keeps out insects and rodents.
- Noise Reduction: Proper installation can help dampen outside noise, creating a quieter indoor environment.
Types of Weatherstripping
Several types of weatherstripping materials are available, each suited to specific applications:
- Adhesive Foam Tape:
- Best for: Doors and windows with irregular gaps.
- Pros: Easy to install, affordable.
- Cons: Less durable; may need frequent replacement.
- V-Strip (Tension Seal):
- Best for: Window sashes and door frames.
- Pros: Flexible and durable.
- Cons: Requires precise installation for maximum effectiveness.
- Door Sweeps:
- Best for: The bottom of doors.
- Pros: Blocks drafts and prevents debris from entering.
- Cons: May require tools for installation.
- Tubular Rubber or Vinyl:
- Best for: Gaps around door frames and windows.
- Pros: Highly effective at sealing large gaps.
- Cons: More expensive; may require professional installation.
- Metal Weatherstripping:
- Best for: High-traffic areas where durability is a priority.
- Pros: Long-lasting and effective.
- Cons: Can be difficult to install.
How to Choose the Right Weatherstripping
When selecting weatherstripping, consider:
- Location: Different areas of the home may require specific types of materials.
- Size of the Gap: Measure the width of the gaps to determine the appropriate thickness of weatherstripping.
- Durability: Choose materials that can withstand frequent use and varying weather conditions.
- Ease of Installation: Some materials are DIY-friendly, while others may need professional help.
How to Install
- Clean the Surface:
- Remove dirt, dust, and old weatherstripping.
- Use a degreaser if needed for better adhesion.
- Measure and Cut:
- Measure the length of the area to be sealed.
- Cut the material to size using scissors or a utility knife.
- Apply:
- For adhesive-backed options, peel off the backing and press firmly in place.
- For non-adhesive types, use nails, screws, or staples to secure the material.
- Test the Seal:
- Close the door or window and check for drafts.
- Adjust or reinforce as necessary.
When to Replace Weatherstripping
- Inspect your weatherstripping annually for signs of wear, such as:
- Cracks or gaps.
- Peeling adhesive.
- Flattened or compressed material.
- Replace weatherstripping as needed to maintain its effectiveness.
Final Thoughts
Weatherstripping is a simple yet highly effective way to improve your home’s energy efficiency, comfort, and durability. Whether you tackle it as a DIY project or hire a professional, the benefits are well worth the effort. If you’re unsure about the best weatherstripping options for your home, reach out to Colin Can Help for expert advice and installation services.

